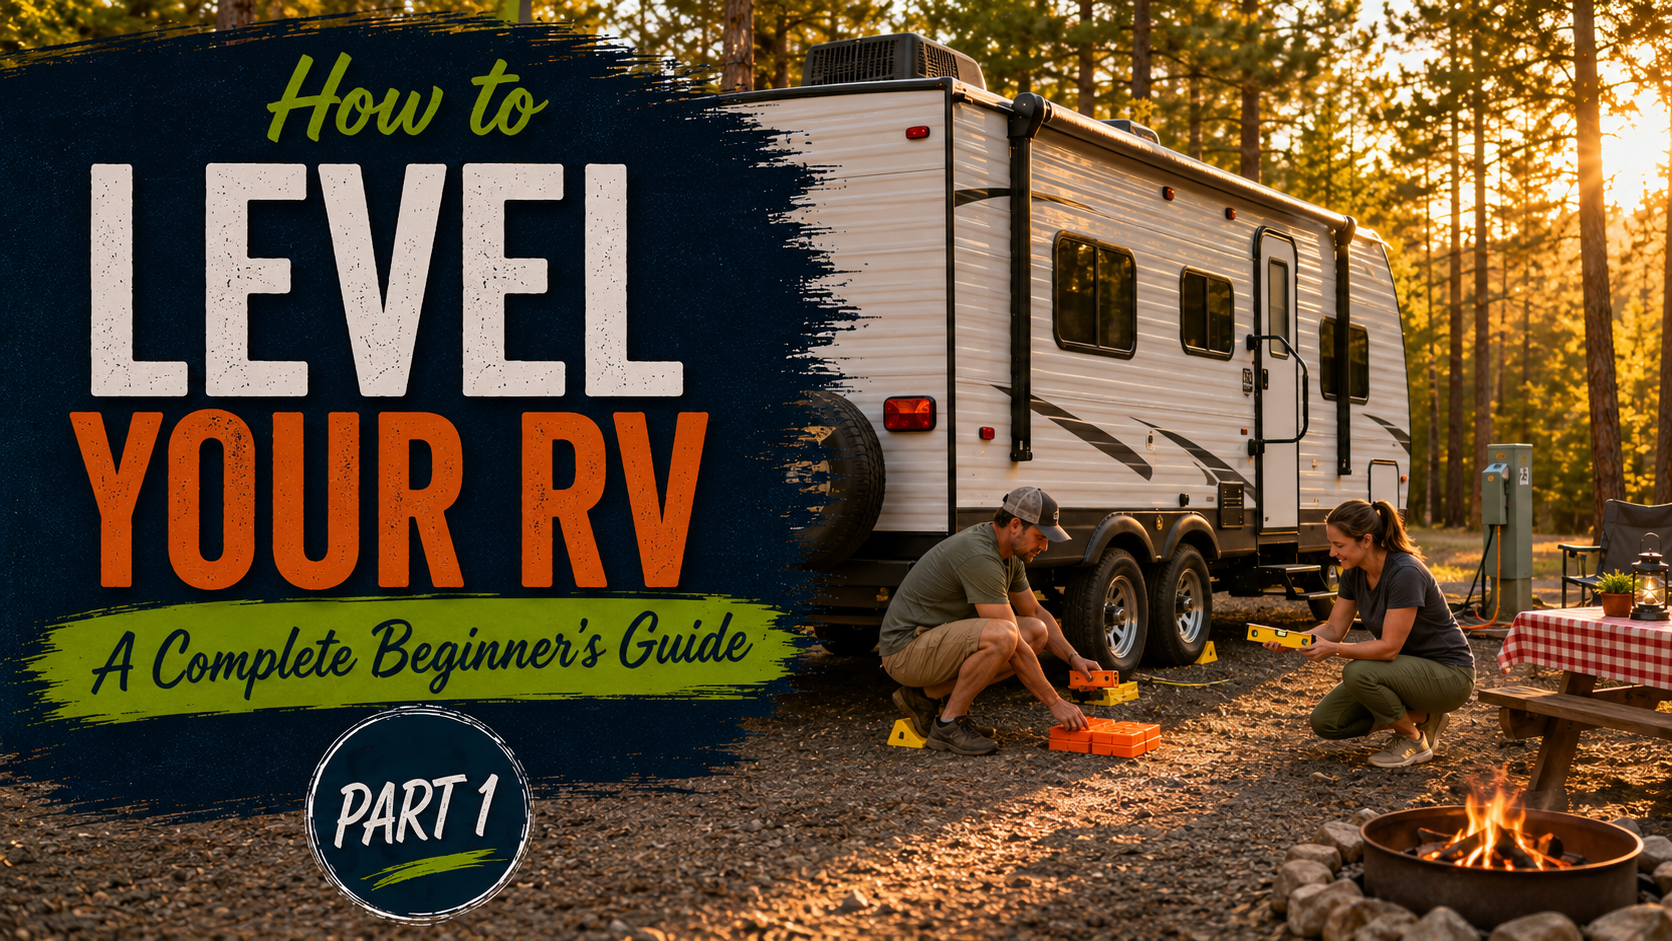
One of the first skills every RV owner should learn is how to properly level an RV. While it may seem like a small step after arriving at your campsite, leveling your RV is one of the most important parts of setting up for a comfortable and enjoyable camping experience.
A properly leveled RV helps your refrigerator operate correctly (if your RV manufacturer recommends leveling for refrigerator operation), makes sleeping more comfortable, allows doors to open and close more easily, helps water drain properly in sinks and showers, and simply makes your campsite feel more like home.
Whether you own a travel trailer, fifth wheel, Class A motorhome, Class B camper van, or Class C motorhome, understanding the basics of RV leveling will make every camping trip easier.
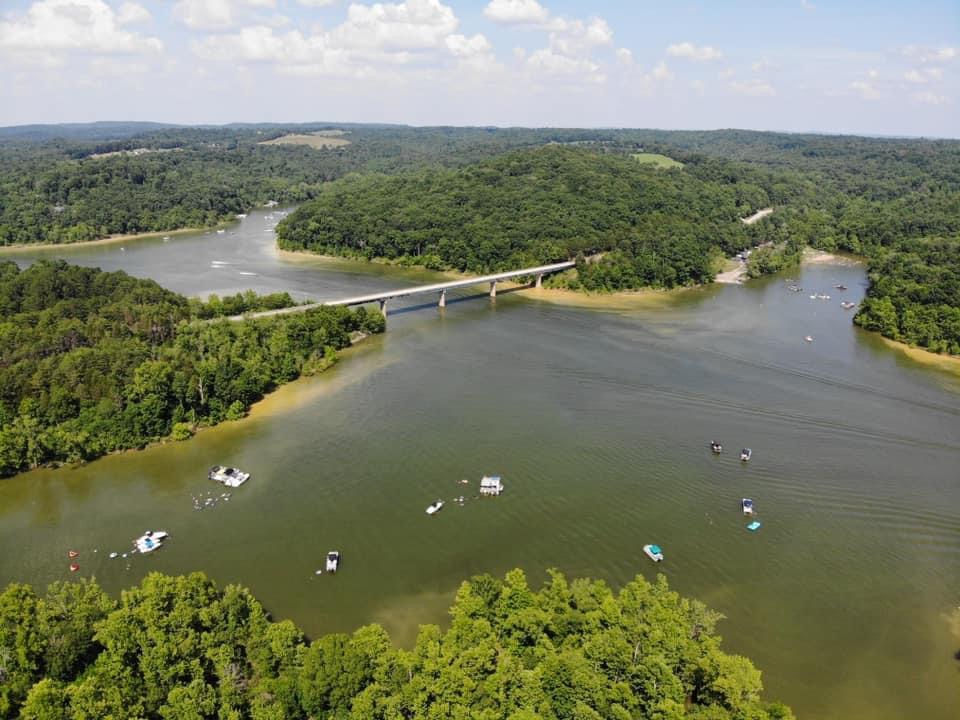
At Quest RV Park, located just one mile from beautiful Nolin Lake and only minutes from Mammoth Cave National Park, our spacious RV sites are designed to make setup simple for both new and experienced RV campers.
👉 Book Your Full-Hookup RV Site at Quest RV Park Today!
Whether you’re staying for a weekend, a family vacation, or one of our monthly or annual sites, you’ll enjoy roomy campsites, full hookups, and easy access to Central Kentucky’s top outdoor attractions.
Why Leveling Your RV Is So Important
Some new RV owners wonder if leveling really matters.
The answer is yes.
A properly leveled RV provides several important benefits.
It can help:
- Improve comfort while sleeping.
- Make walking inside your RV feel more natural.
- Help doors and cabinets open and close properly.
- Allow water to drain more effectively from sinks and showers.
- Support the proper operation of many RV systems according to your manufacturer’s recommendations.
- Reduce unnecessary stress on your RV while parked.
Taking a few extra minutes to level your RV can make your entire camping trip more enjoyable.
Every Campsite Is Different
No two campsites are exactly alike.
Some are nearly level.
Others may have a slight side-to-side or front-to-back slope.
Before you begin setting up, step out of your RV and take a quick walk around your campsite.
Look for:
- High and low spots
- Soft ground
- Gravel conditions
- Drainage areas
- Trees
- Utility pedestals
- Picnic tables
- Fire rings
Planning your parking position before you stop often makes leveling much easier.
Gather Your Leveling Equipment
Many RV owners keep a small collection of leveling equipment ready for every trip.
Common items include:
- RV leveling blocks
- Wheel chocks
- Bubble levels or electronic leveling systems
- Stabilizing equipment supplied or recommended by your RV manufacturer
- Gloves
- Flashlight for evening arrivals
Keeping everything organized in one storage compartment makes setup faster every time you camp.
Park Before You Begin
When arriving at your campsite, pull your RV into position before worrying about hookups.
Take your time.
Many experienced RV owners stop, check their location, and make small adjustments before beginning the leveling process.
A few extra minutes spent positioning your RV often makes leveling much easier.
Check Side-to-Side First
For most towable RVs, side-to-side leveling is typically addressed before front-to-back leveling.
Use a level to determine which side is lower.
If adjustment is needed, leveling blocks are commonly used beneath the appropriate wheels following the recommendations for your RV and leveling equipment.
Always move slowly and carefully while positioning your RV.
If you’re unsure about the proper procedure, consult your RV owner’s manual or ask an experienced RV technician for guidance.
Secure Your RV
Once your RV is positioned, preventing unwanted movement is an important part of setup.
Wheel chocks are commonly used to help reduce rolling after the RV has been positioned.
Always follow your RV manufacturer’s instructions regarding parking, braking, and securing your RV before continuing with additional setup steps.
Safety should always come first.
Level Front-to-Back
Once side-to-side leveling has been completed, front-to-back leveling can usually be addressed according to your RV manufacturer’s instructions.
Depending on the type of RV you own, this process may differ.
Travel trailers, fifth wheels, and many motorhomes each have their own recommended procedures and leveling systems.
Take your time and make gradual adjustments until the RV is level.
Rushing this process rarely saves time.
Double-Check Before Setting Up
Before extending slides (if equipped), connecting utilities, or arranging your campsite, verify that your RV is level.
Many campers check their level a second time after completing the basic setup.
Making a small adjustment now is much easier than reorganizing your campsite later.
👉 Looking for Spacious, Easy-to-Level RV Sites? Reserve Your Stay at Quest RV Park Today!
Our wide, full-hookup RV sites make setup simple, allowing you to spend less time parking and more time enjoying Nolin Lake, Mammoth Cave National Park, and all the outdoor adventures Central Kentucky has to offer.